In my previous blog I discussed about what cross browsing is and what are the benefit of it. In this blog I would be presenting more about how can we run our cross browser test automation code using BrowserStack cloud services.
First of all I want to assure my audience with the fact that it is not at all an open source service provided. It’s a proprietary product that comes in handy with a cost that you need t bare 🙂 but as we all know good things comes with a cost. 🙂
Let’s not change the topic of discussion and dive into how can we use the wonderful features of this tool.
BrowserStack is a cloud based cross-browser testing tool that enables developers to test their websites across various browsers on different operating systems and mobile devices, without requiring users to install virtual machines, devices or emulators.
The subscription-based service was founded by IIT graduates Ritesh Arora and Nakul Aggarwal in 2011 and since then it has gained widespread acceptance in the web development community worldwide to test the layout and performance of a website from their desktop browsers.
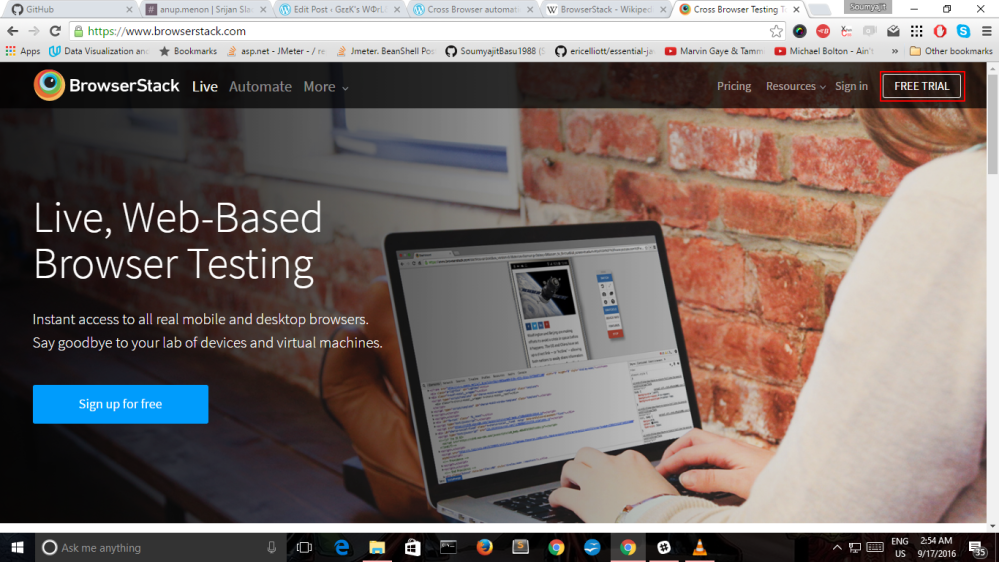
To begin with you need to register yourself with the ‘free trial’ version.
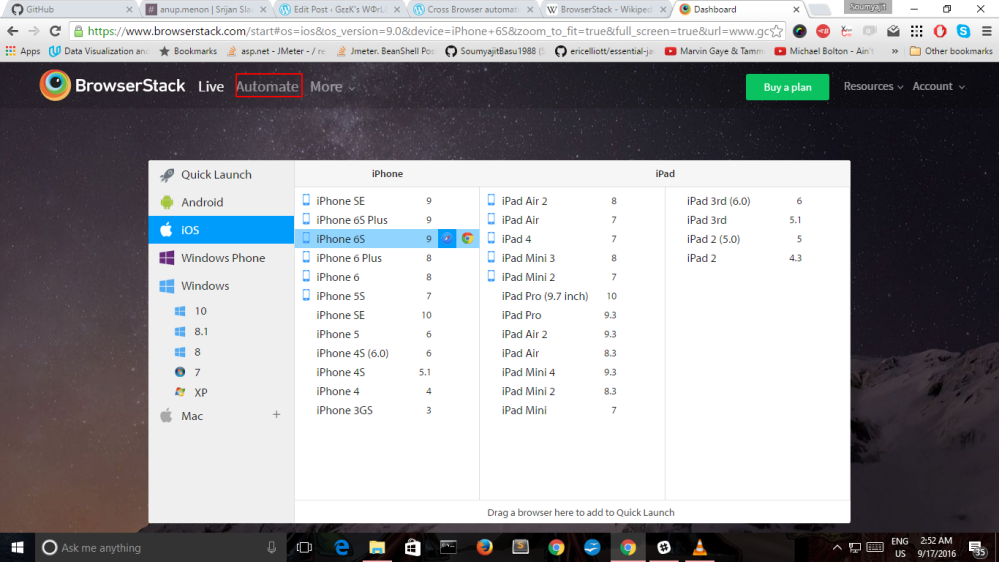
Next login in with your registered credentials. You will be landing up on a pretty cool dashboard with a list of available devices and emulators they provide.

Top of the dashboard you will be able to see a section which says ‘Automate’. Click it and you will land into the cross browser automation page which will initially show an empty page suggesting that no test has been yet run.
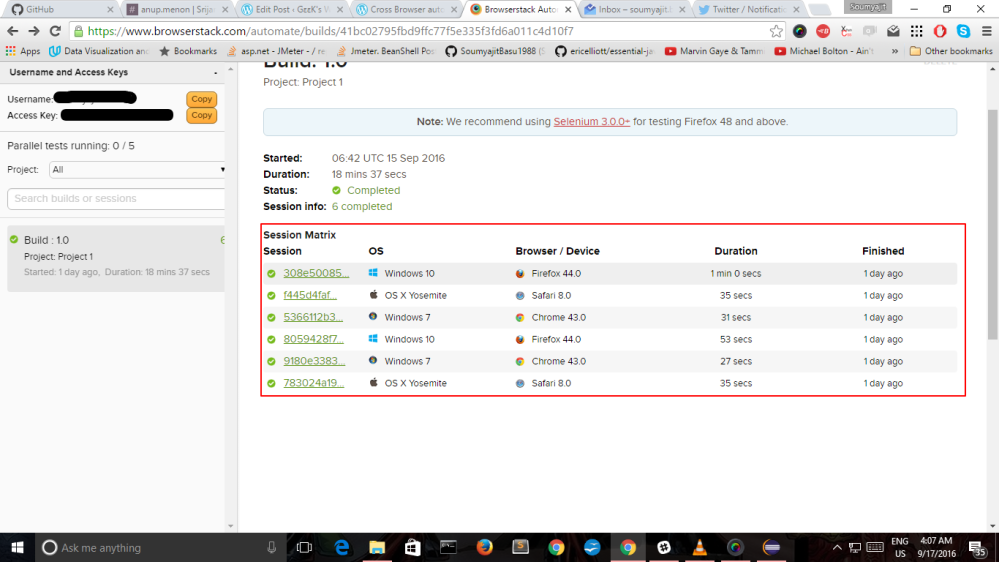
In the automate section you will be seeing a ‘+’ symbol on top of the section saying ‘Username and Access Keys’. Click that to get the username and ‘access key’. Follow the screenshot.

Keep your username and Access Key in handy. We would be needing it to configure your automation code base with BrowserStack services.
Based on my research I found out that the entire architecture of BrowserStack is based on Selenium Grid. Selenium Grid is yet another powerful product of the Selenium generation that helps you running distributed tests across machines. It uses a technique called ‘Hub‘ and ‘Node‘. The Hub is the central point which will receive all the requests along with information on which browser, platform (i.e WINDOWS or LINUX) and where the test should be run. Based on the request received it will distribute them to the registered nodes. Nodes are where the corresponding tests will run. Each node is a machine (can be a physical / virtual machine) that is registered with the hub. When we register a node the hub has the information of the node and it will display the browser and configuration details of the nodes. I won’t dig deeper much into the concepts of Selenium grid in this blog. Lets get into configuring Browser stack with the automation code base.
The pre-requisites required to do so are 1. Capabilities object 2. Remote WebDriver. Capabilities object would help configuring the desired properties and platform for the tests and Remote WebDriver is used to hit the BrowserStack API.
Based on the preferences set in the desired capabilities instance the Hub will point the tests to a node that matches with the preferences. The following code block would be
final String USERNAME = "";
final String AUTOMATE_KEY = "";
 final String URL = "https://" + USERNAME + ":" + AUTOMATE_KEY + "@hub-cloud.browserstack.com/wd/hub";

try
 {
   DesiredCapabilities caps = new DesiredCapabilities();
   caps.setCapability("browser",browser);
   caps.setCapability("browser_version",browser_version);
   caps.setCapability("os",os);
   caps.setCapability("os_version",os_version);
   caps.setCapability("resolution",resolution);
   caps.setCapability("project","Project-1");
   caps.setCapability("build","1.0");
   caps.setCapability("browserstack.debug","true");
   caps.setCapability(CapabilityType.ACCEPT_SSL_CERTS, true);
   driver = new RemoteWebDriver(new URL(URL),caps);
 }
 catch(MalformedURLException e)
 {
   e.getMessage();
 }
I am using the testng.xml to pass the browser properties as parameters. Something like this
<?xml version=”1.0″ encoding=”UTF-8″?> <!DOCTYPE suite SYSTEM “http://testng.org/testng-1.0.dtd”> <suite thread-count=”3″ name=”Suite” parallel=”tests”> <test name=”Test on Chrome”> <parameter name=”browser” value=”Chrome”/> <parameter name=”browser_version” value=”43.0″/> <parameter name=”os” value=”Windows”/> <parameter name=”os_version” value=”7″/> <parameter name=”resolution” value=”1024×768″/> <classes> <class name=”BrowserStack.ExecuteFunctionalities”/> </classes> </test> <!– Test –> <test name=”Test on Edge”> <parameter name=”browser” value=”Edge”/> <parameter name=”browser_version” value=”13.0″/> <parameter name=”os” value=”Windows”/> <parameter name=”os_version” value=”10″/> <parameter name=”resolution” value=”1024×768″/> <classes> <class name=”BrowserStack.ExecuteFunctionalities”/> </classes> </test> <!– Test –> <test name=”Test on Firefox”> <parameter name=”browser” value=”Firefox”/> <parameter name=”browser_version” value=”44.0″/> <parameter name=”os” value=”Windows”/> <parameter name=”os_version” value=”10″/> <parameter name=”resolution” value=”1024×768″/> <classes> <class name=”BrowserStack.ExecuteFunctionalities”/> </classes> </test> <!– Test –> </suite> <!– Suite –>
I have used the TestNG annotation parameters to get the value of the corresponding parameters and feed it to the capabilities object
@org.testng.annotations.Parameters(value={"browser","browser_version","os","os_version","resolution"})
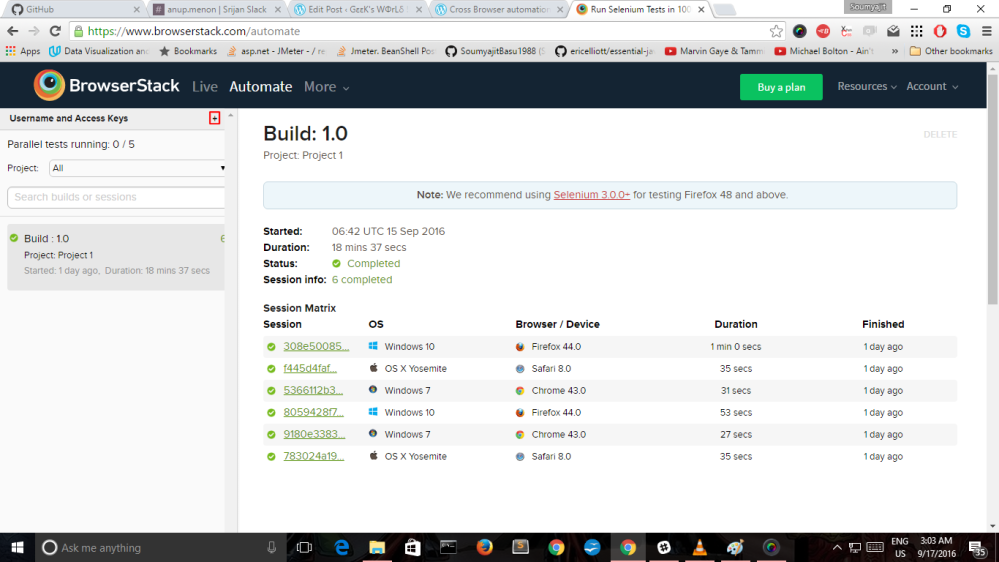
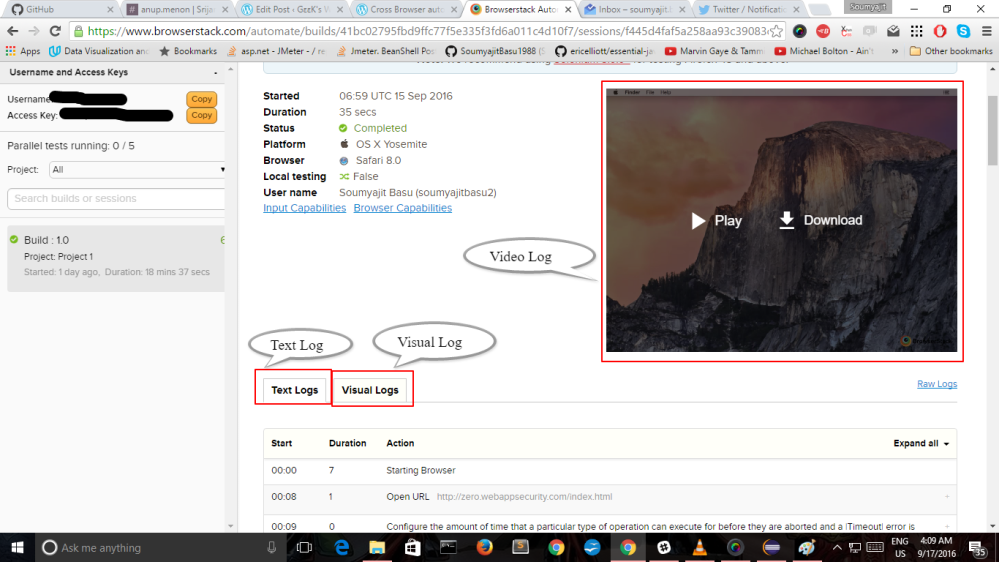
Now we can run the desired test automation suite on BrowserStack. Each test run has a unique session id associated with it and based on the session id it fetches the required details for the test execution. Each test execution has three logs generated a text log which gives a textual representation of each process running in the back ground. Visual log gives an idea bout how tests are running on the browser end with screenshots and a video log with a live recording of your test execution. Besides it also provides the execution time for each test run.
A quick fact, BrowserStack allows only 2 test to run parallely, if you want to run more test in parallel, you have to implement the concept of Queuing where you can launch additional number of parallel tests with different browser configurations that will be queued in a sequence, for a seamless parallel execution. For instance, if you want to run 5 additional tests, apart from your subscribed limit of 2 parallel tests, BrowserStack will queue the additional 5 tests until one of the 2 initial tests finish, and a slot is available for execution. With queuing, you can be less bothered about managing your tests, and it can save development time.
That’s all folks ..
Please follow this link for the code base for deploying your cross browser automation test suite on BrowserStack.
